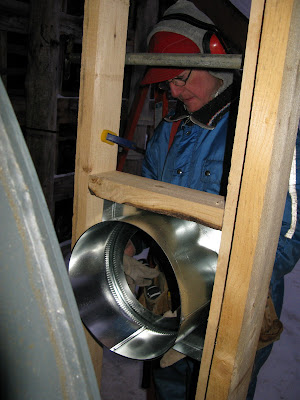
I just finished cleaning the flues on my Garn. I turn the fan on to
exhaust the ash from the first two flues but the two by the fan have
always been messy as the fan is removed and I had no way to exhaust. I
solved the problem by cutting tapered plugs out of Styrofoam to plug the
flue and drilled a hole for the cleaning rod to pass through. I can now
power clean the flue without the ash mess.
Thursday, March 6, 2014
Thursday, January 19, 2012
Added Water Level Gauge
I decided it would be good to have a "sight glass" to view the water level. When I checked it at water sample time the level was surprisingly lower than I had expected. I used 3/4" HePex for the tube and dropped an orange Styrofoam ball for an indicator.
Once the indicator was installed and the tank refilled I fired to 207 degrees to establish a maximum mark on the gauge when it stopped overflowing out the overflow tube. I marked this level boil. Then as the water cooled and the level lowered in the tube I placed marks at additional temperature as recorded at the supply pipe. I can now check the supply temperature the pumps have been running, then look at the "sight glass" to reassure myself that the water level is proper. If not I can hook up the hose and add a little water to bring it up to level on the sight glass at the appropriate temperature.
Once the indicator was installed and the tank refilled I fired to 207 degrees to establish a maximum mark on the gauge when it stopped overflowing out the overflow tube. I marked this level boil. Then as the water cooled and the level lowered in the tube I placed marks at additional temperature as recorded at the supply pipe. I can now check the supply temperature the pumps have been running, then look at the "sight glass" to reassure myself that the water level is proper. If not I can hook up the hose and add a little water to bring it up to level on the sight glass at the appropriate temperature.
Wednesday, January 12, 2011
Thursday, December 23, 2010
Tuesday, December 21, 2010
My Garn is finally providing heat for my house!
My Garn is finally providing heat for my house, domestic hot water, and my workshop.
I framed and insulated with fiberglass insulation. The drywall is now applied. Today I should finish mudding the drywall on the front of the Garn.
Following the final filling it was time to finish the piping to the house and workshop. I may have included too many fittings but I do not think I will regret it the first time I have to service the installation.
The first filling with water was treated with one pail of 775p precleaner, then heated and circulated for 36 hours. It then drained and refilled and once again recirculated to flush the piping. It was drained again and rinsed thoroughly with a garden hose. I was surprised how clean the interior of the Garn was after the 775p precleaner, I am glad I purchased this product. After all sediment was flushed out the drain it was filled for the last time. Once the Garn was a third full I added the 2 tubs of clt-200p water treatment and then continued to fill through the 5 micron filter provided by Garn. I expected the clt-200p to make the water cloudy but it dissolved clear.
All chemicals were purchased from Mike Kuzulka of Precisionchem, Waupun, WI, 920-324-2007, Email precisionchem@powercom.net. Mike is extremely knowledgeable on boiler water conditioning, he was very helpful and gladly answered all of my questions, I highly recommend his company!
Underground supply lines were encased in 6” Drain tile and then foamed in place with closed cell insulation. The above lines are enclosed in a chase to allow future access if necessary.
Sunday, March 21, 2010
Enclosing The "Garn Barn"
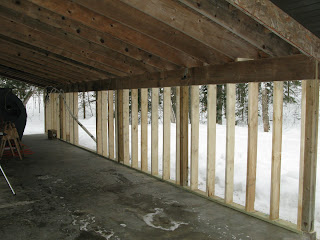
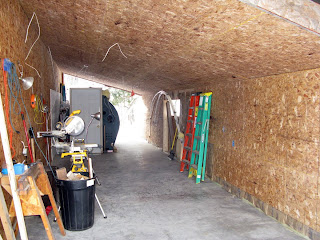
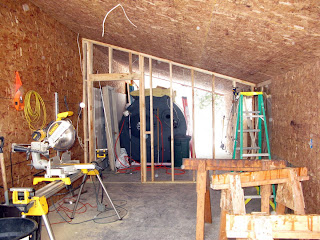
The Garn Barn area was originally a five posted storage area. It too a bit of prying and jacking to get the area plumb, straight, and level with adequate headers to support the openings. The walls were insulated R-19, the ceiling rafters were furred out an additional 2 ½” to allow an air space above the R-38 insulation. As long as the rear half was to be enclosed I chose to add a storage/work area with a large loading door to the front half. This should keep much warmer with two heated walls and if necessary I can open the door to the boiler room when I am in the area working.
Three circuits were added in the boiler room to provide adequate electrical supply.
The back wall has a removable 4’x8’ panel by the chimney and air intake to allow a future service entrance.
Subscribe to:
Comments (Atom)


